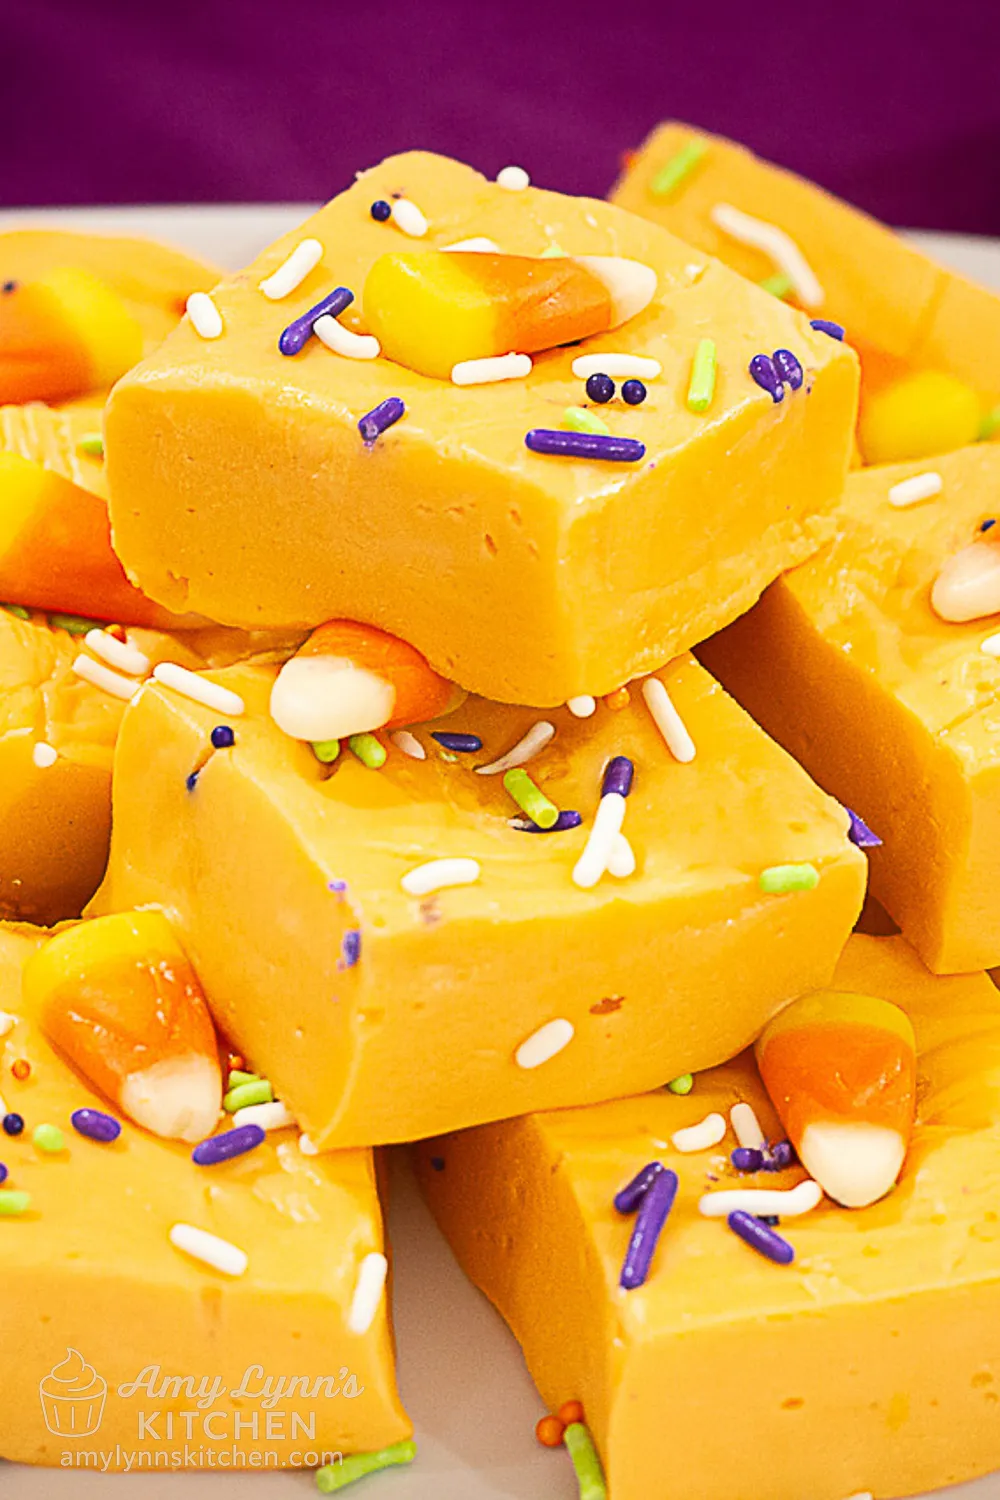
Easy Halloween Orange Fudge
This post may contain affiliate links. As an Amazon Associate I earn from qualifying purchases. Please see my disclosure policy for more information.
Okay, so you know how sometimes you start making something in the kitchen without really... thinking it through? That was me with this Halloween Orange Fudge. I was halfway through melting white chocolate chips when I realized, "Hmm, I don't actually know what shade of orange I'm going for here." Bright? Pastel? Traffic cone? The gel food coloring decided for me - traffic cone it is.
 Pin This Recipe
It's creamy, a little cozy with that vanilla-orange flavor, and the sprinkles make it look like it wandered straight out of a Halloween party. And since it's completely no-bake, you can whip it together in minutes - perfect for treat trays, last-minute gatherings, or those nights when you just want something sweet while your favorite Halloween movie plays in the background.
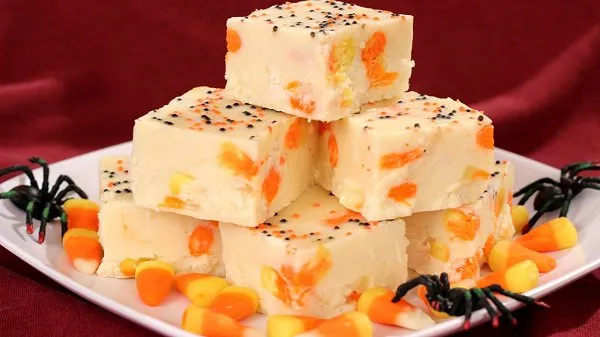
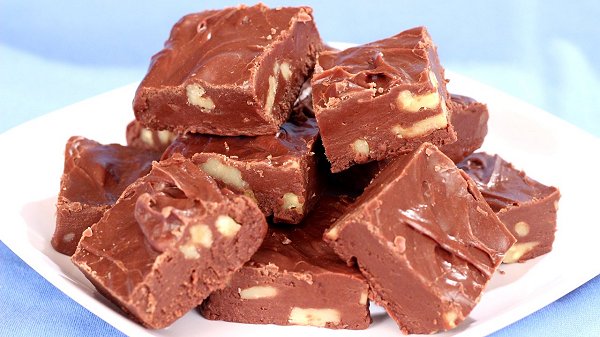
If you love easy, no-bake Halloween treats like this, my Candy Corn Fudge and Lime Cottage Cheese Fluff are just as festive and just as low-effort.
Frankie also decided he needed to "observe the process," which means he wandered around the counter. At one point he bumped into the sprinkle jar (only one jar - honestly a miracle), so now a few little ghost sprinkles are probably living behind my toaster forever. That's fine. Adds character.
Anyway, I made this fudge once just to see if it would work, and now it's become the Halloween treat in this house. It's so easy that I almost feel guilty posting instructions, but then I remember how many times I've messed up even basic things like boiling pasta, so... here we are.
If you want something bright and dangerously snackable without dirtying your stovetop or your mood, this little fudge is your friend.
Why You'll Love This (in a not-perfectly-organized way)
- It's literally just melt-and-stir. Blink twice and you've made fudge.
- The color is SO LOUD, but in a good way - like it's happy to be here.
- Kids love it. Adults love it. Frankie definitely loves it and cannot be trusted around it.
- Customizable to a ridiculous degree. You want candy eyeballs? Sure. You want edible glitter? Yes, go for it.
- Zero fancy equipment. A bowl, a spoon, a microwave, a little hope. Done.
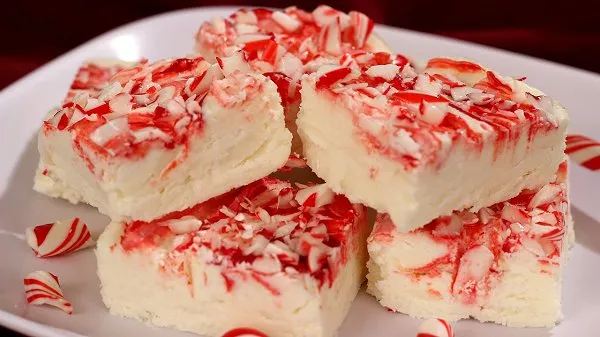
If you like playing with colors and flavors, my Candy Cane Fudge and Christmas Fudge show how easy it is to adapt this base recipe for different holidays.
Watch the Easy Halloween Orange Fudge Video
Frankie Crashed My Halloween Orange Fudge Video!
In This Video:
- How to make easy Halloween orange fudge with white chocolate (no baking required)
- Simple decorating ideas using sprinkles and candy corn
- Why this fudge is perfect for last-minute parties and treat boxes
- Frankie attempting to "help" (results may vary)
Easy Halloween Orange Fudge - Spooky, Silly, and Ridiculously Delicious
Okay, so in this episode I thought we were just making a quick little batch of bright orange fudge - melt some white chocolate chips,
stir in the flavor, sprinkle something cute on top... simple, right?
But no.
Frankie heard the word "Halloween," and suddenly he was trick-or-treating around the kitchen like a giant sugar-seeking bat.
At one point, I swear he tried to "help" by poking at the bowl with a candy corn. (Thank goodness white chocolate is forgiving.)
Anyway - this fudge really does come together in minutes. Just a handful of cozy ingredients,
a microwave, and the willingness to let the color turn into whatever shade of pumpkin-magic it wants. It's perfect for last-minute parties,
adorable treat boxes, or those nights when you're curled up watching something vaguely spooky and want a sweet bite without
committing to a full baking project.
Beginner-friendly? Absolutely.
Delicious? Oh yes.
Frankie-proof? ...Not even a little.
Jump in and make it with me - chaos and candy corn included.
Tools
The right tools can make all the difference!
(This post contains affiliate links. As an Amazon Associate, I earn a small commission from qualifying purchases at no extra cost to you. Please see my
disclosure policy for more information.)
- Baking Pan: I use an 8 x 8 metal baking pan because it conducts the cold quickly, helping the fudge set faster. A 9x9 will work, but your fudge will be thinner!
- Spoon or Spurtle: Mix and spread the mixture with a spoon or spurtle. I love my Silicone Spurtles from Mad Hungry. They are perfect for stirring or scraping pots or pans without scratching them.
- Aluminum Foil: Cleanup is a breeze when you line your pan with foil
- Non-Stick Cooking Spray: Stop your fudge from possibly sticking with a light spray of Pam.
Topping Ideas
Try one (or a few!) of these easy toppings:
- Candy eyeballs for that cute-but-spooky personality
- Halloween sprinkles shaped like ghosts, bats, or tiny pumpkins. I usually grab whatever sprinkles I have on hand - Frankie always votes for the candy eyeballs.
- The classic black-and-orange sprinkle blend
- A handful of crushed Oreos or a few scattered candy corn pieces
- Drizzle a little melted white chocolate over the top for contrast
- A pinch of edible glitter if you want a little sparkle moment
- Mini Halloween candies pressed gently into the top before chilling
 Pin This Recipe
Variations
A few fun ways to play with this fudge:
- Chocolate Swirl: Drizzle a little melted milk or dark chocolate over the top and swirl it in before chilling. Looks fancy. Takes five seconds.
- Pumpkin Spice Fudge: Swap the orange extract for pumpkin spice and add a pinch of cinnamon... Boom - fall in your mouth.
- A Little Nutty: Stir in chopped pecans or walnuts for extra crunch.
- Do two layers:: Make half orange and half purple (just add purple gel coloring). Extremely witchy.
How to Serve
Once the fudge is chilled and firm, slice it into small squares - it looks so good on a party platter..
- Serve on a black or white tray so the color really pops.
- Wrap pieces individually in wax paper for cute party favors.
- Pair with hot cider or cocoa for maximum fall coziness.
- Add it to a Halloween treat board so people think you're way more organized than you probably were that day.
How to Store Easy Halloween Orange Fudge
(Or how to hide it from Frankie.)
Refrigerator
Store in an airtight container in the fridge for up to 1 week.
Freezer
Freeze for up to 2 months - Thaw it slowly in the refrigerator overnight to prevent condensation from making the fudge sticky.
Troubleshooting (real kitchen chaos edition)
-
Why is my orange fudge grainy?:
White chocolate is sensitive. Like... overly sensitive.
It overheats, panics, and immediately seizes.Fix:
Stop melting when a few chips are still hanging around. Stir them in gently like you're apologizing. -
My fudge didn't set:
Two possibilities:
You accidentally used evaporated milk (been there).
The kitchen was warm and the fudge said "nope."Just chill it longer. It will get there..
-
The color looks streaky:
Stir more.
No really. MORE.
Frequently Asked Questions
(These are actual questions people DM me at 11 pm)
Can I make it ahead?
Yes. Honestly, it tastes better the next day.
Candy melts instead of white chocolate?
Totally fine, just a different texture. Firmer. A little sweeter.
Does it HAVE to be orange?
Absolutely not. Green, purple, zombie gray - go wild.
Is orange extract required?
Nope. Vanilla, lemon or lime work great. Almond extract is lovely too.
Candy thermometer?
Not today. This is a chill recipe. Very low commitment.
Ingredients You Will Need

- 18 ounces high-quality white chocolate chips - this forms the rich, creamy base of the fudge. Don't cheap out on the brand, or do, I won't tell.
- 14 ounce can sweetened condensed milk - the thick, sticky kind. Adds that classic fudge richness.
- 1 teaspoon orange extract - the citrus note that makes the color make sense
- 1/2 teaspoon vanilla extract - softens the orange so it doesn't taste like a cleaning spray, ha ha.
-
Orange gel food coloring (optional) - go big or go subtle, no judgment.
- Halloween sprinkles or candy (optional) - Frankie votes candy eyeballs every time.
- PRO TIP: Liquid coloring = sadness. Gel coloring = joy.
Photo Tutorial: How To Make It
Follow along step-by-step.
Step 1: Line your pan
Line an 8x8 baking pan with foil, leaving enough foil hanging over the edges to use as handles to lift the fudge out.
This makes it super easy to lift the whole spooky slab out once it's set - no haunted sticking to the pan.

Step 2: Spray
Spray with nonstick cooking spray. Set aside.
A quick mist keeps your fudge from clinging on like a stubborn little ghost when you go to lift and slice.

Step 3: Add ingredients to bowl
In a microwave-safe bowl, add white chocolate chips and sweetened condensed milk
It already looks like the start of a candy shop cauldron - sweet and ready for Halloween magic.

Step 4: Melt
Melt in the microwave in 20 to 30 second intervals, stirring each time, until melted. Be careful not to burn it.
Short bursts keep it silky and smooth - not scorched like a campfire marshmallow gone wrong on Halloween night, ha ha.

Step 5: Mix in Orange Extract and Gel Food Coloring
Then add orange extract, vanilla extract and some orange gel food coloring (optional).
This is where the fudge turns into that bright jack-o'-lantern orange... such a fun reveal every single time.

Step 6: Stir
Stir together until well combined.
Keep going until it's smooth, glossy, and evenly orange... like a little pan of edible pumpkin patch fog. (Stop stirring once the color is uniform!)

Step 7: Pour and spread
Pour the mixture into your prepared pan and spread it out evenly.
Use your spatula to nudge it into the corners.

Step 8: Decorate
If you like, decorate the top with Halloween sprinkles or candy.
Go wild with candy corn, spooky sprinkles, or whatever you have - this is the part where it turns into a little Halloween party in a pan.

Step 9: Chill Easy Halloween Orange Fudge then slice into squares
Chill in the refrigerator for several hours until it sets up. Then lift the fudge out of the pan and cut into squares to serve.
The waiting is the hardest part... once it's chilled, those bright orange squares disappear from the plate faster than a trick-or-treater with a full candy bucket.

You Might Also Like
Final Thoughts:
This fudge is basically the Halloween equivalent of wearing fuzzy socks: comforting, cute, and unexpectedly delightful. It's easy enough to
make on a whim but festive enough to pass for "Oh! I planned this!" And honestly, even if the fudge looked terrible (it doesn't),
the bright orange color alone could carry the whole dessert.
Plus... it makes Frankie happy, and that's saying something because he has opinions about dessert.
 Pin This Recipe
Easy Halloween Orange Fudge
This bright orange Halloween fudge is a fast and festive dessert made with white chocolate and sprinkles - perfect for parties, kids, and fall celebrations.
Nutrition information is an estimate. [View our full disclaimer]
Ingredients
- 18 ounces white chocolate chips
- 14 ounce can sweetened condensed milk
- 1 teaspoon orange extract
- 1/2 teaspoon vanilla extract
- orange gel food coloring (optional)
- Halloween sprinkles/candy for decorating (optional)
Instructions
- Line an 8x8 baking pan with foil, leaving enough foil hanging over the edges to use as handles to lift the fudge out.
- Spray with nonstick cooking spray. Set aside.
- In a microwave-safe bowl, add white chocolate chips and sweetened condensed milk.
- Melt in the microwave in 20 to 30 second intervals, stirring each time, until melted. Be careful not to burn it.
- Then add orange extract, vanilla extract and some orange gel food coloring (optional).
- Stir together until well combined.
- Pour the mixture into your prepared pan and spread it out evenly.
- If you like, decorate the top with Halloween sprinkles or candy.
- Chill in the refrigerator for several hours until it sets up. Then lift the fudge out of the pan and cut into squares to serve.
Video
People Also Viewed


Did You Make This Recipe?
Tag @AmyLynnsKitchen on Instagram and use #AmyLynnsKitchen so I can see your delicious creation!
Tag me on Instagram