
Cherry Kool-Aid Fudge
This post may contain affiliate links. As an Amazon Associate I earn from qualifying purchases. Please see my disclosure policy for more information.

Sponsored content
Why You’ll Love This Easy Cherry Fudge
- Only 3 main ingredients: White chocolate, sweetened condensed milk, and cherry Kool-Aid. That's it!
- No Stovetop Drama: Everything melts together right in the microwave—no boiling or candy thermometers required.
- Sweet + tangy: The Kool-Aid cuts through some of the sweetness of the white chocolate and gives the fudge its fun cherry flavor.
- Customizable & Pretty in Pink: That bright cherry color makes this one really fun for parties, holidays and dessert trays. And if you start buying Kool-Aid packets based entirely on whether they'd make pretty fudge... I understand.
Watch: How to Make This Fudge
Cherry Kool-Aid Fudge
Follow along as I make this fun, easy and colorful fudge! Customize this with your favorite flavor of Kool-Aid!
Ingredients You Will Need

- White Chocolate Morsels - These make up the sweet, creamy base of our fudge. You'll need 24 ounces. Use a quality brand that melts smoothly.
- Sweetened Condensed Milk - One 14-ounce can makes the fudge rich, smooth, and wonderfully creamy.
- Cherry Kool-Aid - And here's where things get interesting! One little 0.13-ounce packet of unsweetened cherry Kool-Aid transforms our innocent white chocolate into bright, fruity cherry fudge.
- Sprinkles - Completely optional... but look at that fudge. It clearly wants sprinkles. 😂
Sponsored content
Photo Tutorial: How to Make It
Follow along step-by-step.
-
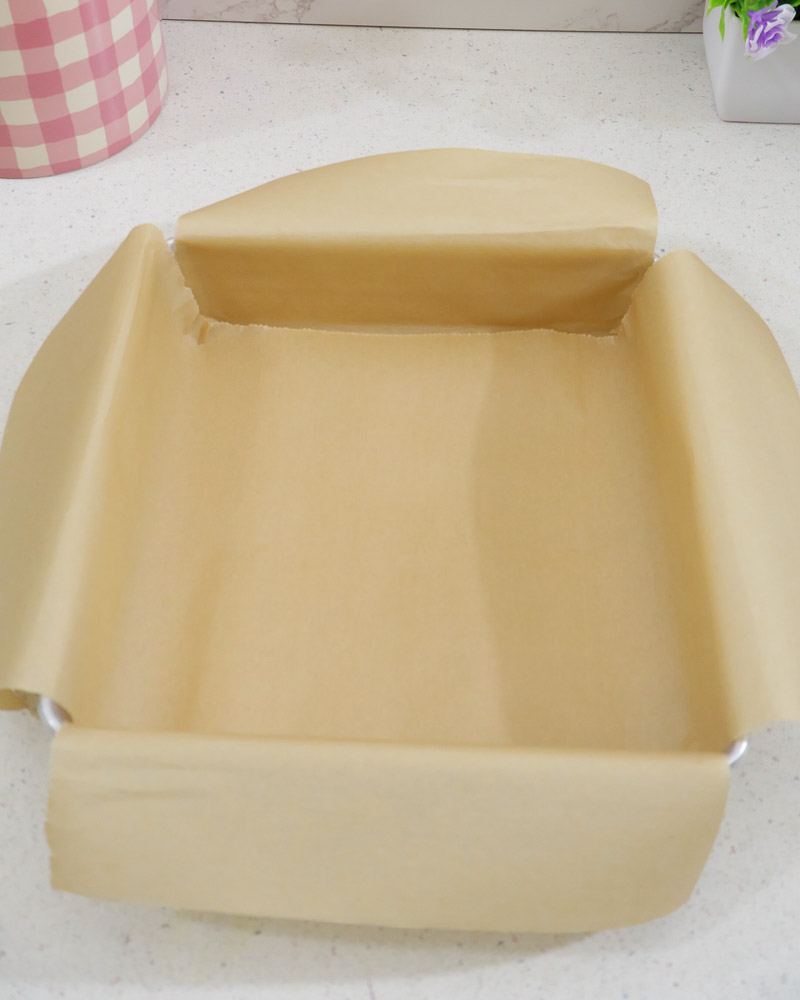
Step 1: Prepare the Pan
Take an 8 x 8 baking pan and line it with foil or parchment paper, leaving enough hanging over the edges to use as handles to lift the fudge out.
Those handy little handles will make it much easier to lift the chilled fudge out of the pan later.
-
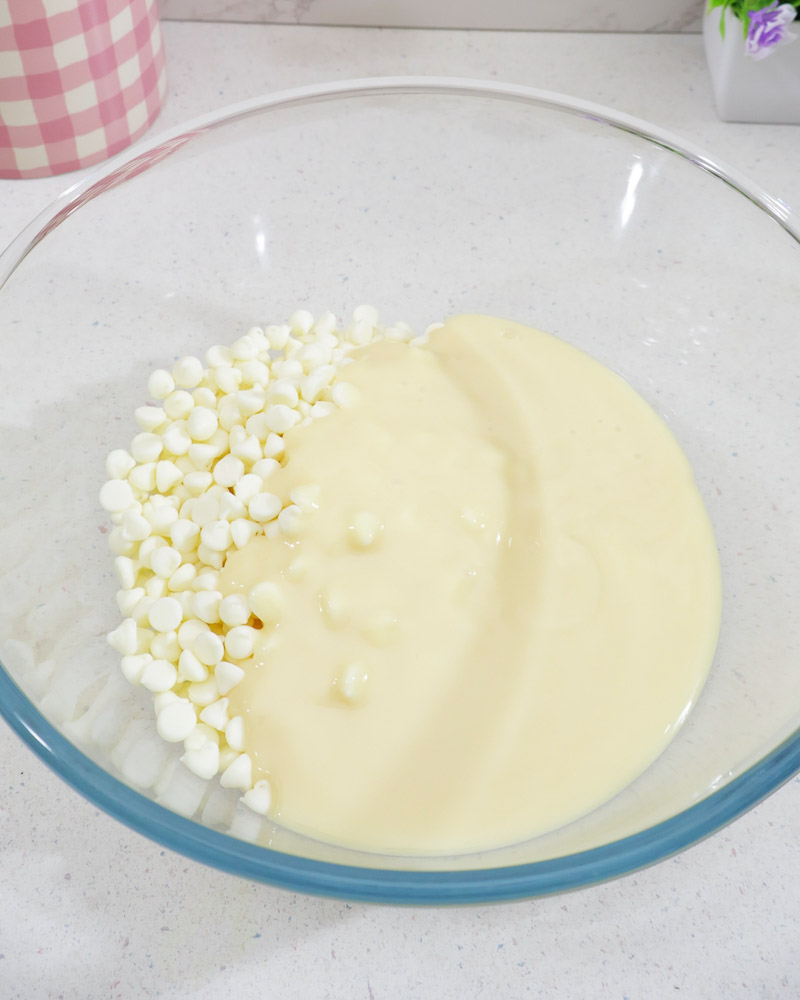
Step 2: Add the Chocolate and Milk
In a microwave-safe bowl, add white chocolate morsels and sweetened condensed milk.
And just like that, two of our three main ingredients are already in the bowl!
-
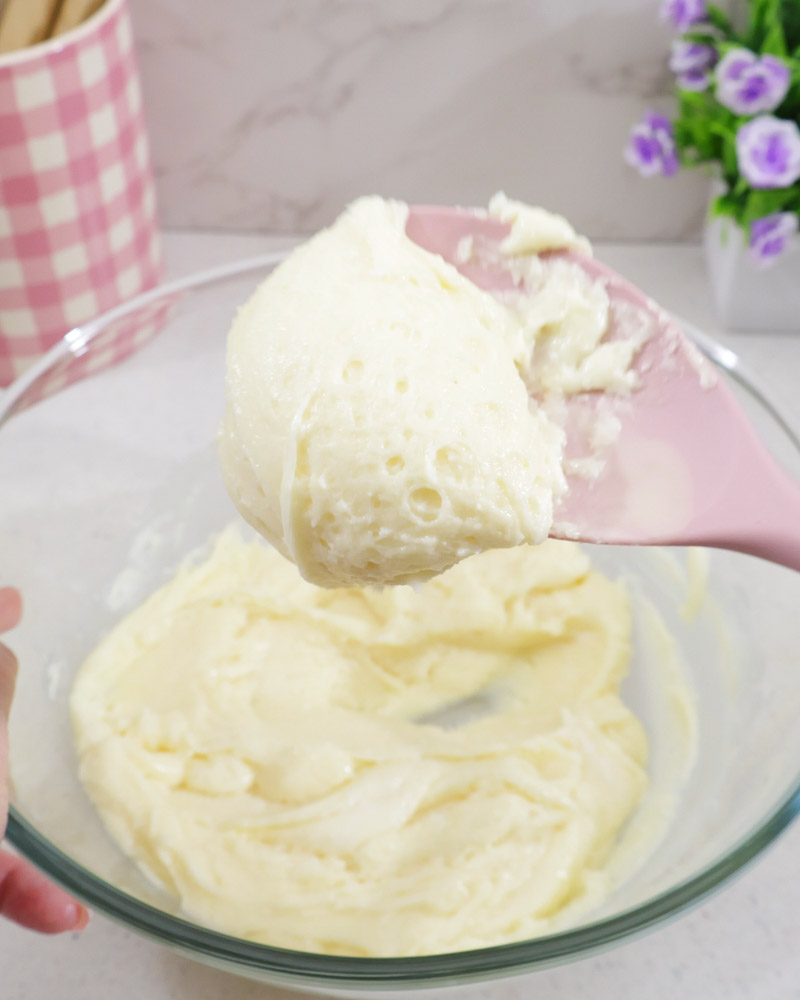
Step 3: Melt Until Smooth
Melt in the microwave, in 20 to 30 second intervals, stirring each time, until it is melted.
Short intervals help the white chocolate melt gently. Give it a good stir each time until the mixture is nice and smooth.
-
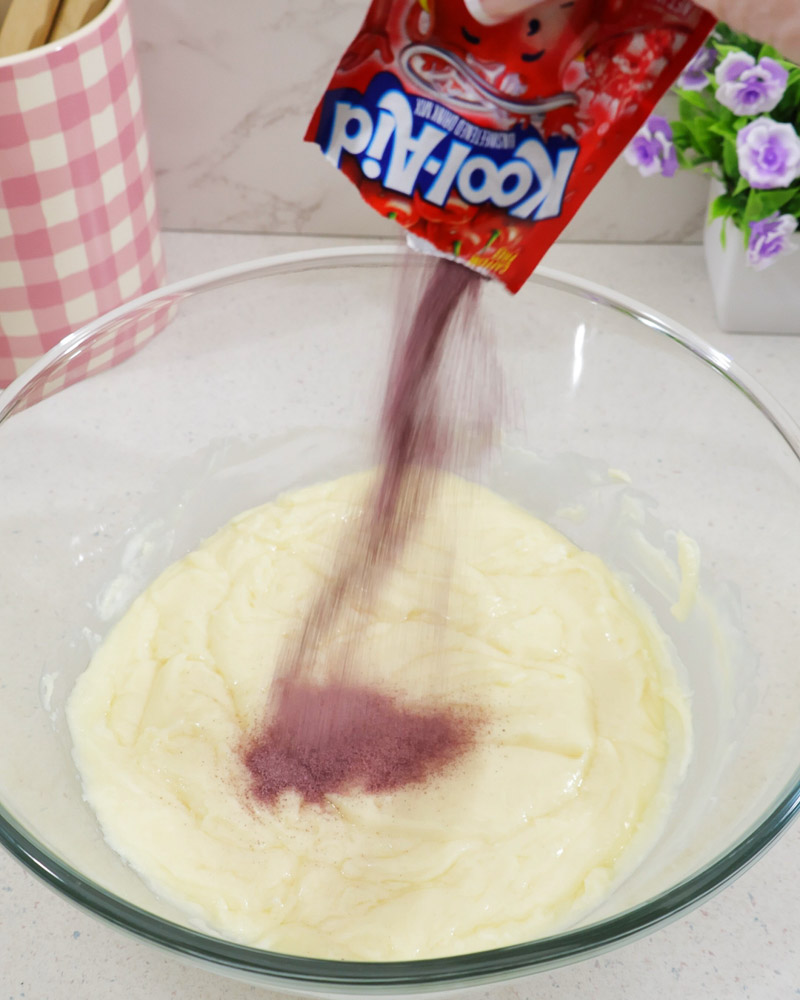
Step 4: Add the Cherry Kool-Aid
Add packet of cherry flavored Kool-Aid.
This little packet brings the cherry flavor and transforms our plain white mixture into something much more colorful.
-
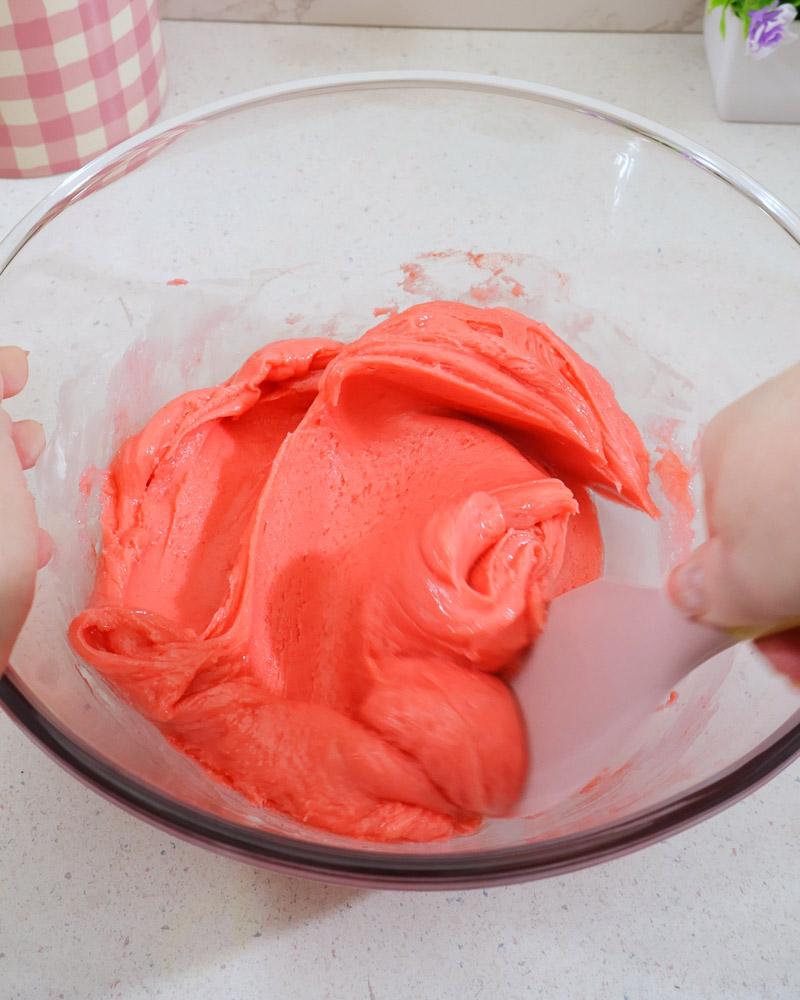
Step 5: Stir Until Combined
Stir together until well combined.
Keep stirring until the Kool-Aid is thoroughly mixed in and the fudge turns a pretty cherry pink.
-
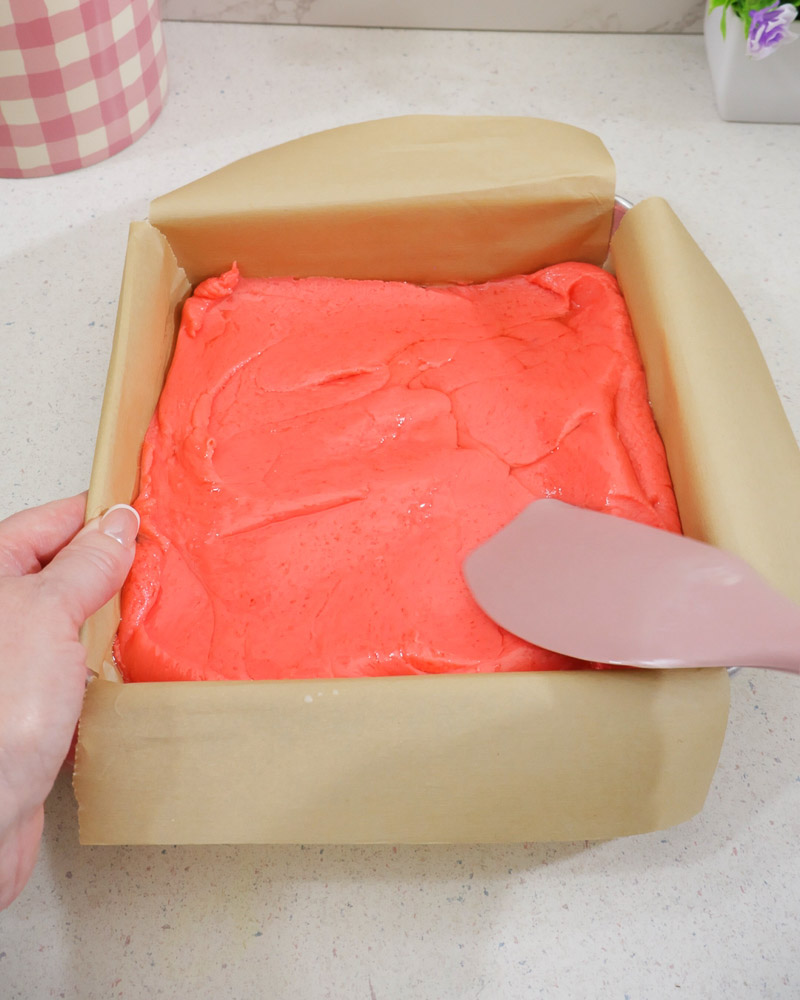
Step 6: Spread in the Pan
Place the mixture into your prepared pan and spread it out evenly.
The mixture will be thick, so use your spoon or spatula to work it into the corners and smooth out the top.
-
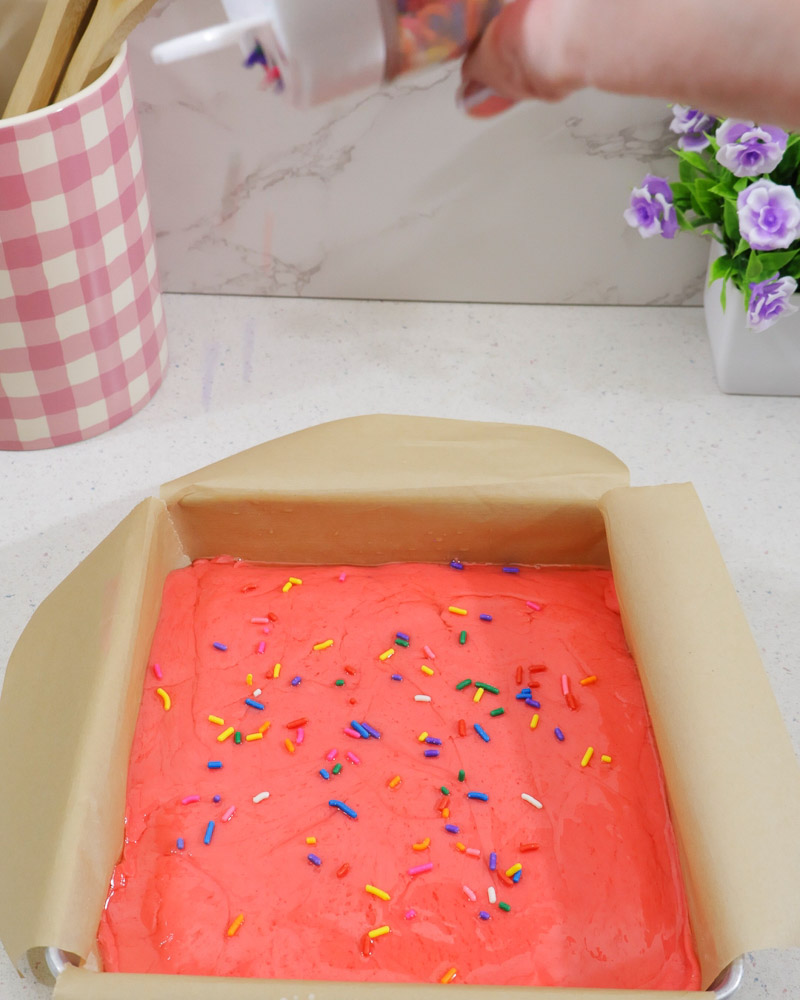
Step 7: Add the Sprinkles
If you like, you can add pretty sprinkles to the top and slightly press them down into the fudge.
A gentle press helps those colorful little troublemakers stay attached when it's time to cut the fudge. 😂
-
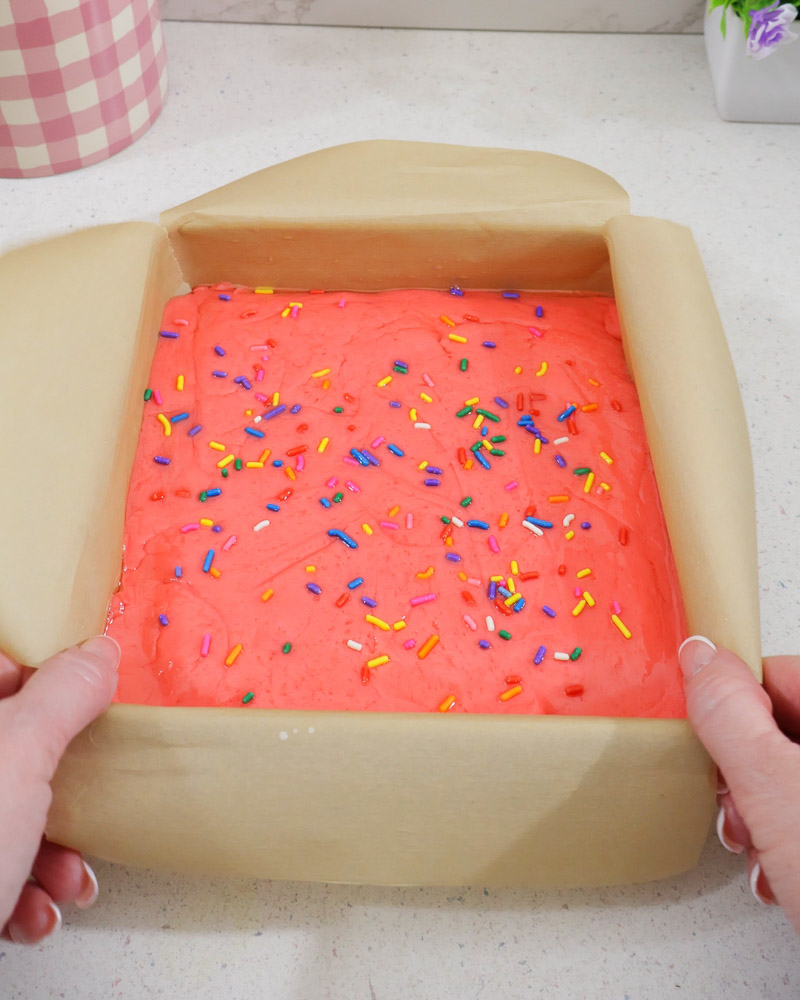
Step 8: Chill Until Set
Chill in the refrigerator for 3 to 4 hours or until it sets up.
Now comes the hardest part—waiting! Give the fudge plenty of time to become nice and firm before cutting.
-
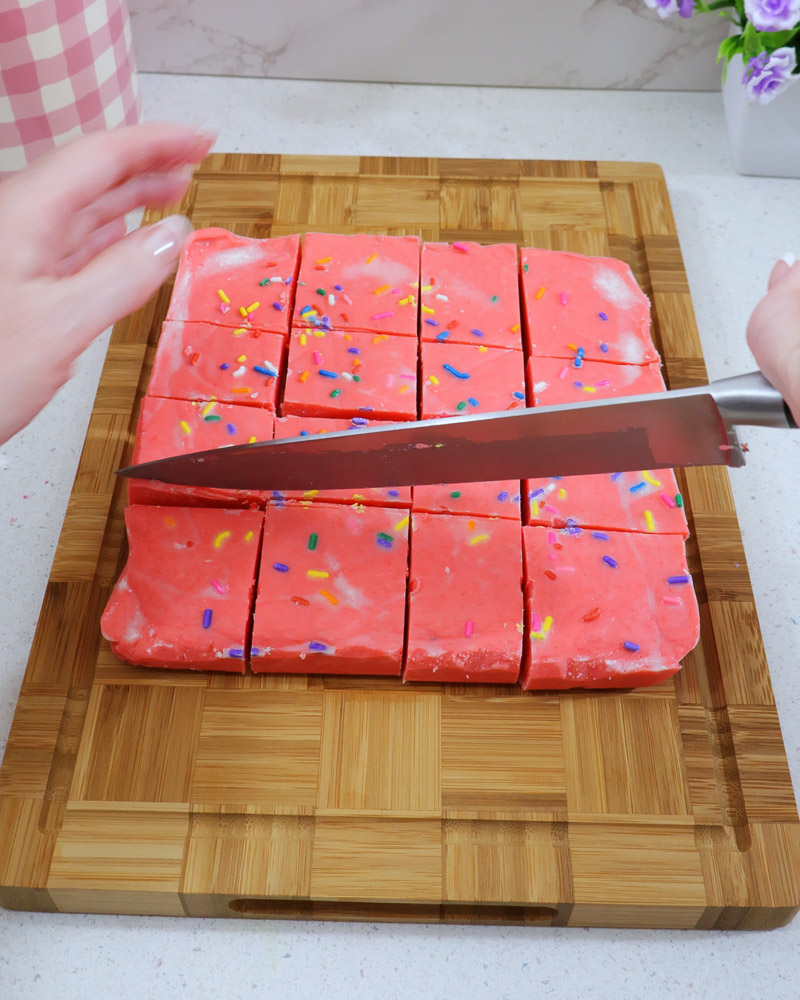
Step 9: Lift and Cut
After it has chilled, lift the fudge out of the pan and cut into squares to serve.
Those foil or parchment handles from Step 1 finally earn their paycheck—lift the whole thing out, then slice it into pretty little squares.


Tools You'll Need
The right tools can make all the difference!
- 8 × 8-inch baking pan
- The perfect size for nice, thick pieces of fudge. This pan is great!
- Aluminum foil or parchment paper
- Leave some hanging over the sides and you've got yourself fudge handles. Fancy! I like this foil and this parchment paper.
- Spoon or spatula
- I like to use these pretty, pink silicone utensils.
Cherry Kool-Aid Fudge
This pretty and colorful fudge combines the sweetness of white chocolate with the tangy flavor of cherry Kool-Aid. It takes just a few ingredients and it's easy to make!
Ingredients
- 24 ounces white chocolate morsels
- 1 (14-ounce) can sweetened condensed milk
- 1 (0.13-ounce) packet unsweetened cherry-flavored Kool-Aid drink mix
- sprinkles to decorate (optional)
Instructions
- Take an 8 x 8 baking pan and line it with foil or parchment paper, leaving enough hanging over the edges to use as handles to lift the fudge out.
- In a microwave-safe bowl, add white chocolate morsels and sweetened condensed milk.
- Melt in the microwave, in 20 to 30 second intervals, stirring each time, until it is melted.
- Add packet of cherry flavored Kool-Aid.
- Stir together until well combined.
- Place the mixture into your prepared pan and spread it out evenly.
- If you like, you can add pretty sprinkles to the top and slightly press them down into the fudge.
- Chill in the refrigerator for 3 to 4 hours or until it sets up.
- After it has chilled, lift the fudge out of the pan and cut into squares to serve.
Sponsored content
Video
Tips & Tricks
Don't Rush the Microwave. White chocolate burns easily. If the bowl feels hot, let residual heat melt the remaining chips through stirring rather than adding more microwave time.
Press Sprinkles In Early. Add toppings while the fudge is still warm and tacky so those little troublemakers don't roll off when you slice it.
Clean Slices. Wipe your knife blade with a damp paper towel between cuts for clean, professional-looking squares.

Easy Flavor Variations
- Change the Kool-Aid: Try grape, orange, lemon, or another favorite flavor. Once you realize Kool-Aid can become fudge, the drink-mix aisle suddenly becomes a research facility. 😂
- Add Mix-Ins: Fold in 1/2 cup of chopped pecans, walnuts, or mini chocolate chips before pouring into the pan.
- Theme for Holidays: Use red and green sprinkles for Christmas, pastels for Easter, or heart sprinkles for Valentine's Day.
Storage
- Refrigerator
- Store your fudge in an airtight container in the refrigerator for up to 1 week. If you're stacking the pieces, place parchment or wax paper between the layers to keep everything nice and neat.
- Freezer
- For longer storage, you can freeze the fudge for up to 1 month. Wrap it well, place it in a freezer-safe airtight container, and let it thaw in the refrigerator overnight before serving.
Assuming, of course, there's actually any left to freeze. 😂
Frequently Asked Questions
Can I make this on the stovetop instead of the microwave?
Yes! Melt the white chocolate and sweetened condensed milk in a heatproof bowl set over a pot of gently simmering water (a double boiler), stirring constantly until smooth.
Can I make Cherry Kool-Aid Fudge ahead of time?
Yes! Since the fudge needs several hours to chill anyway, it's a great make-ahead treat. Prepare it earlier in the day or the day before, refrigerate it, and cut it into squares when you're ready to serve.
You Might Also Like
Watch the Quick ASMR Version
A Quick & Satisfying Cherry Fudge ASMR
Watch this easy Cherry Kool-Aid Fudge come together in a quick, satisfying ASMR short—from melting the white chocolate to adding the colorful sprinkles and slicing the finished fudge.
Final Thoughts: Sweet, Tangy & Cherry-Happy
This Cherry Kool-Aid Fudge is proof that homemade candy doesn't have to involve complicated techniques or a kitchen full of equipment. Three simple ingredients turn into creamy, colorful fudge with a fun sweet-and-tangy cherry flavor.
And once you've made the cherry version, good luck walking past the Kool-Aid display without thinking:
"Hmmmm... I wonder if that one would fudge?" 😂
Have fun with the flavors and don't forget the sprinkles!
Enjoy! ❤️

Did You Make This Recipe?
Tag @AmyLynnsKitchen on Instagram and use #AmyLynnsKitchen so I can see your delicious creation!
Tag me on Instagram